
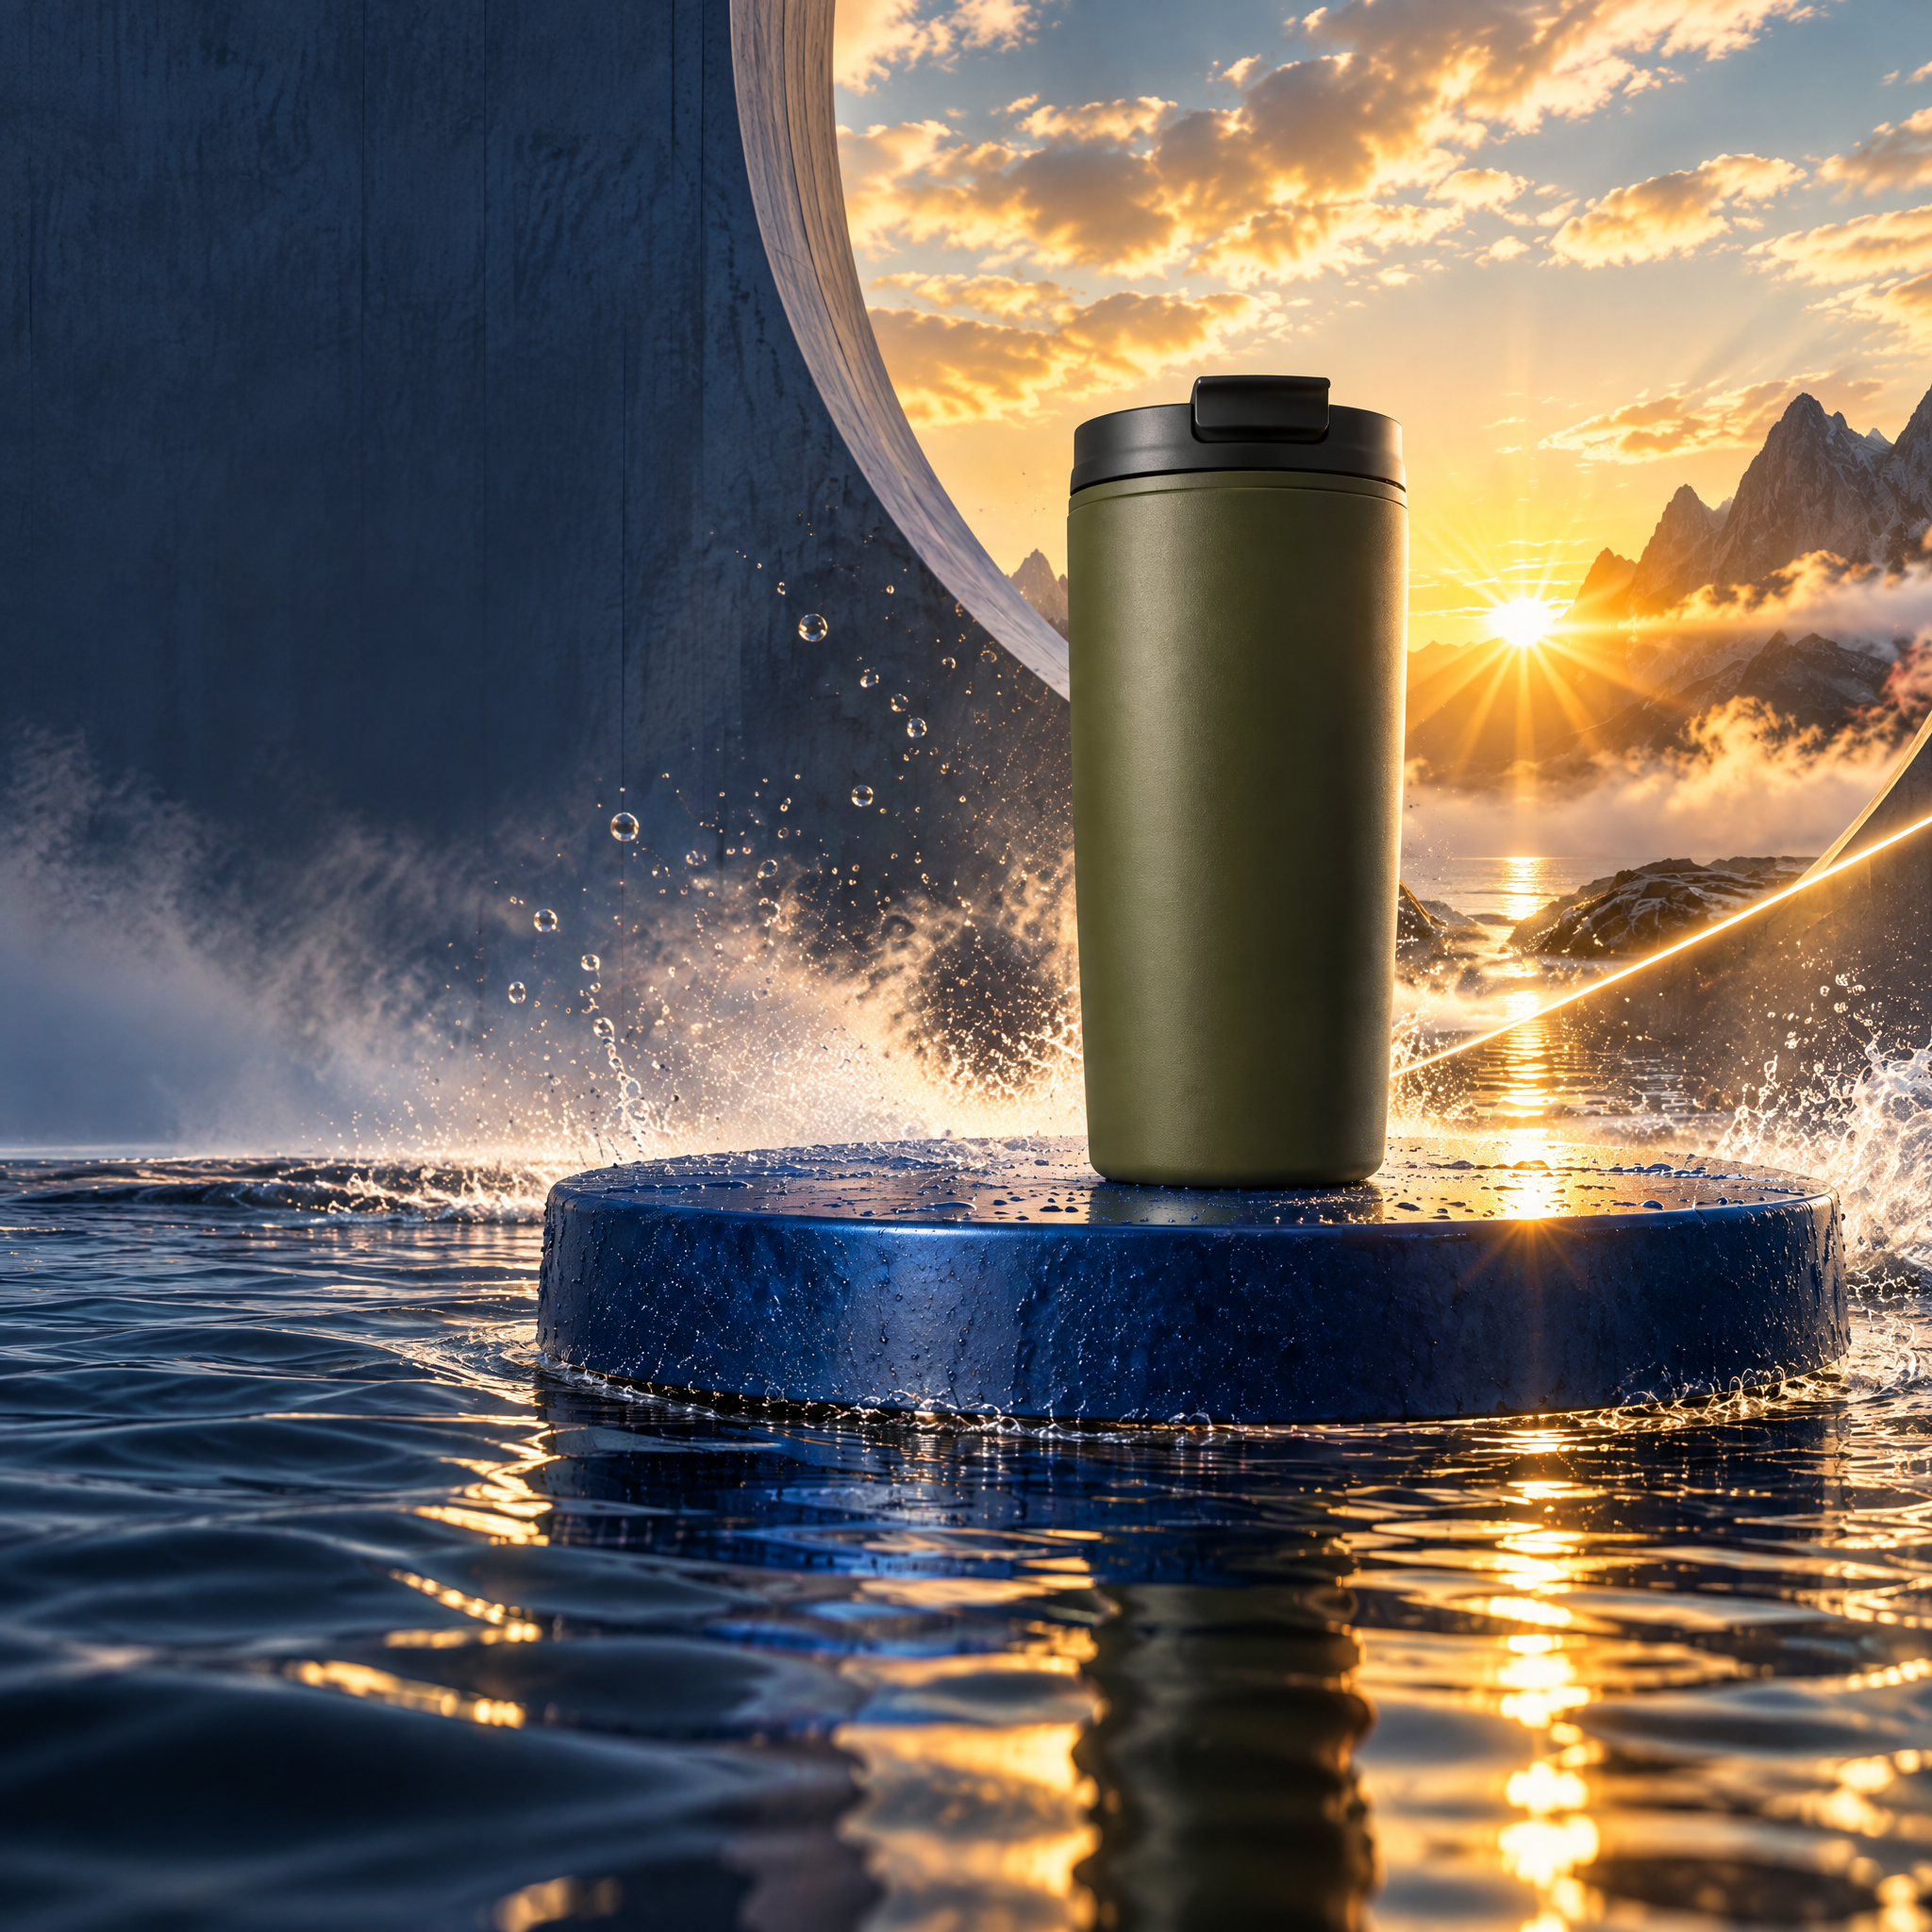
Directed campaign kit
Carry the momentum.
One clean cup reference becomes a kinetic launch world, two social formats, and a bounded revision.
Explore projectNodeTool Cloud is in alpha — run workflows in the browser, on your own keys.NodeTool Cloud is in alpha. Try it →
NodeTool example project
Turn a story idea into a six-shot storyboard, then develop its voice, motion, and edit in the same workspace.
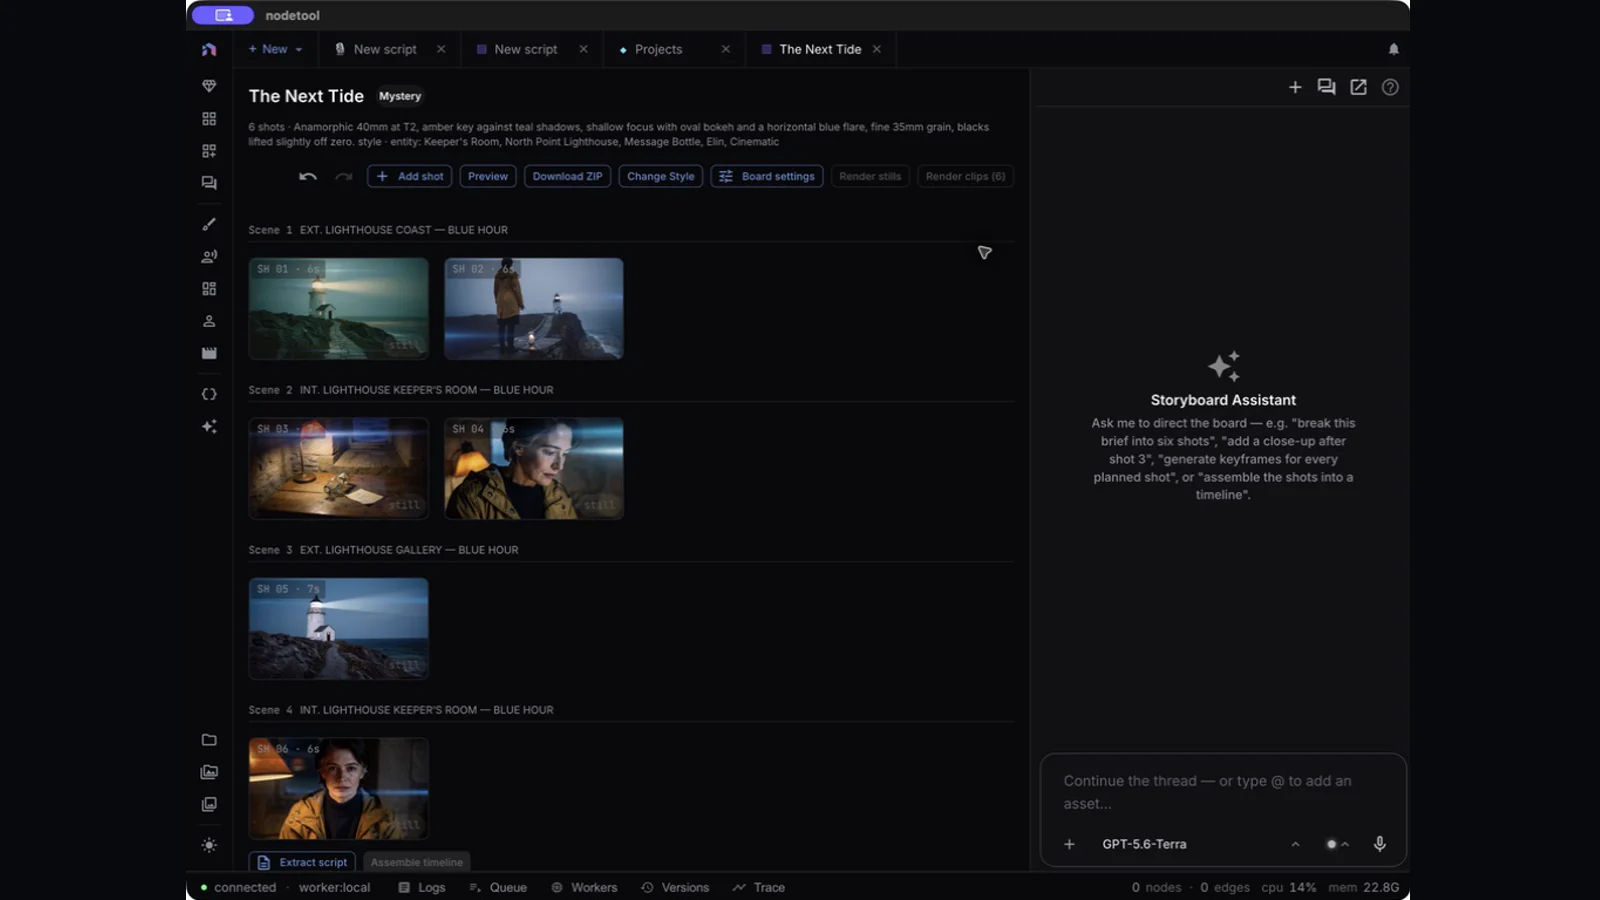
The Next Tide: a six-shot storyboard with a shared cast, locations, and props.
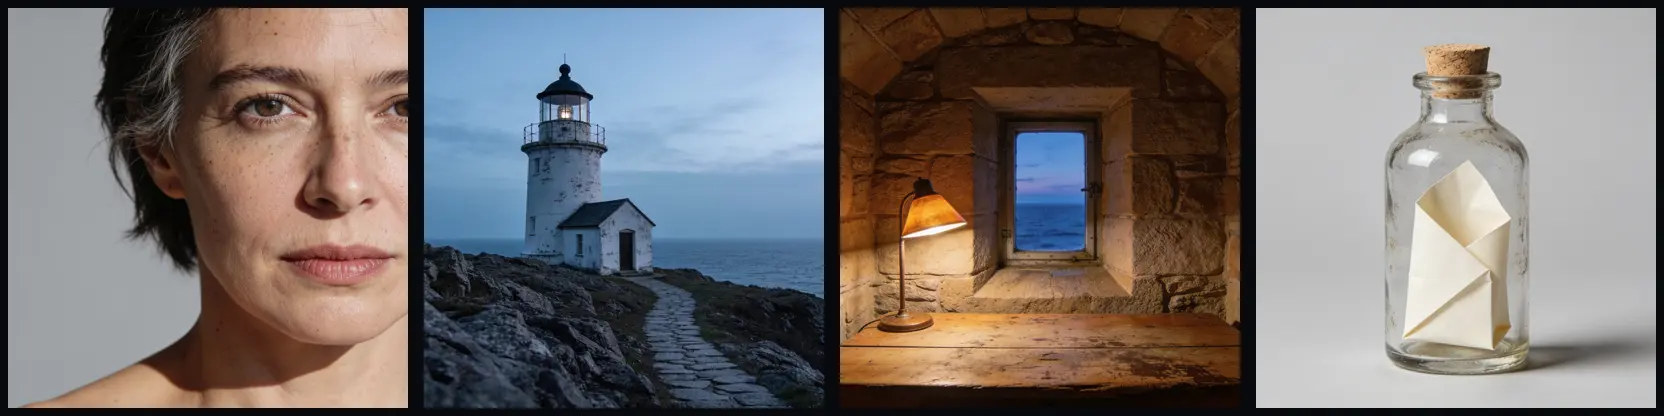
Reference images and voice takes generated with FAL through NodeTool
Start from a Mystery storyboard: review the story, cast character and location references, then choose the look.
The Next Tide. A lighthouse keeper discovers a bottle carrying a message dated forty years in the future, written in her own hand. A restrained mystery on a blue-hour coast, with a warm amber keeper's room. Six shots for a short trailer. One central character, a lighthouse, a room, and a message bottle. No readable text inside generated pictures.
This example stops at the six-shot storyboard. Motion, score, and the trailer are not in this run. The final steps explain how to continue.
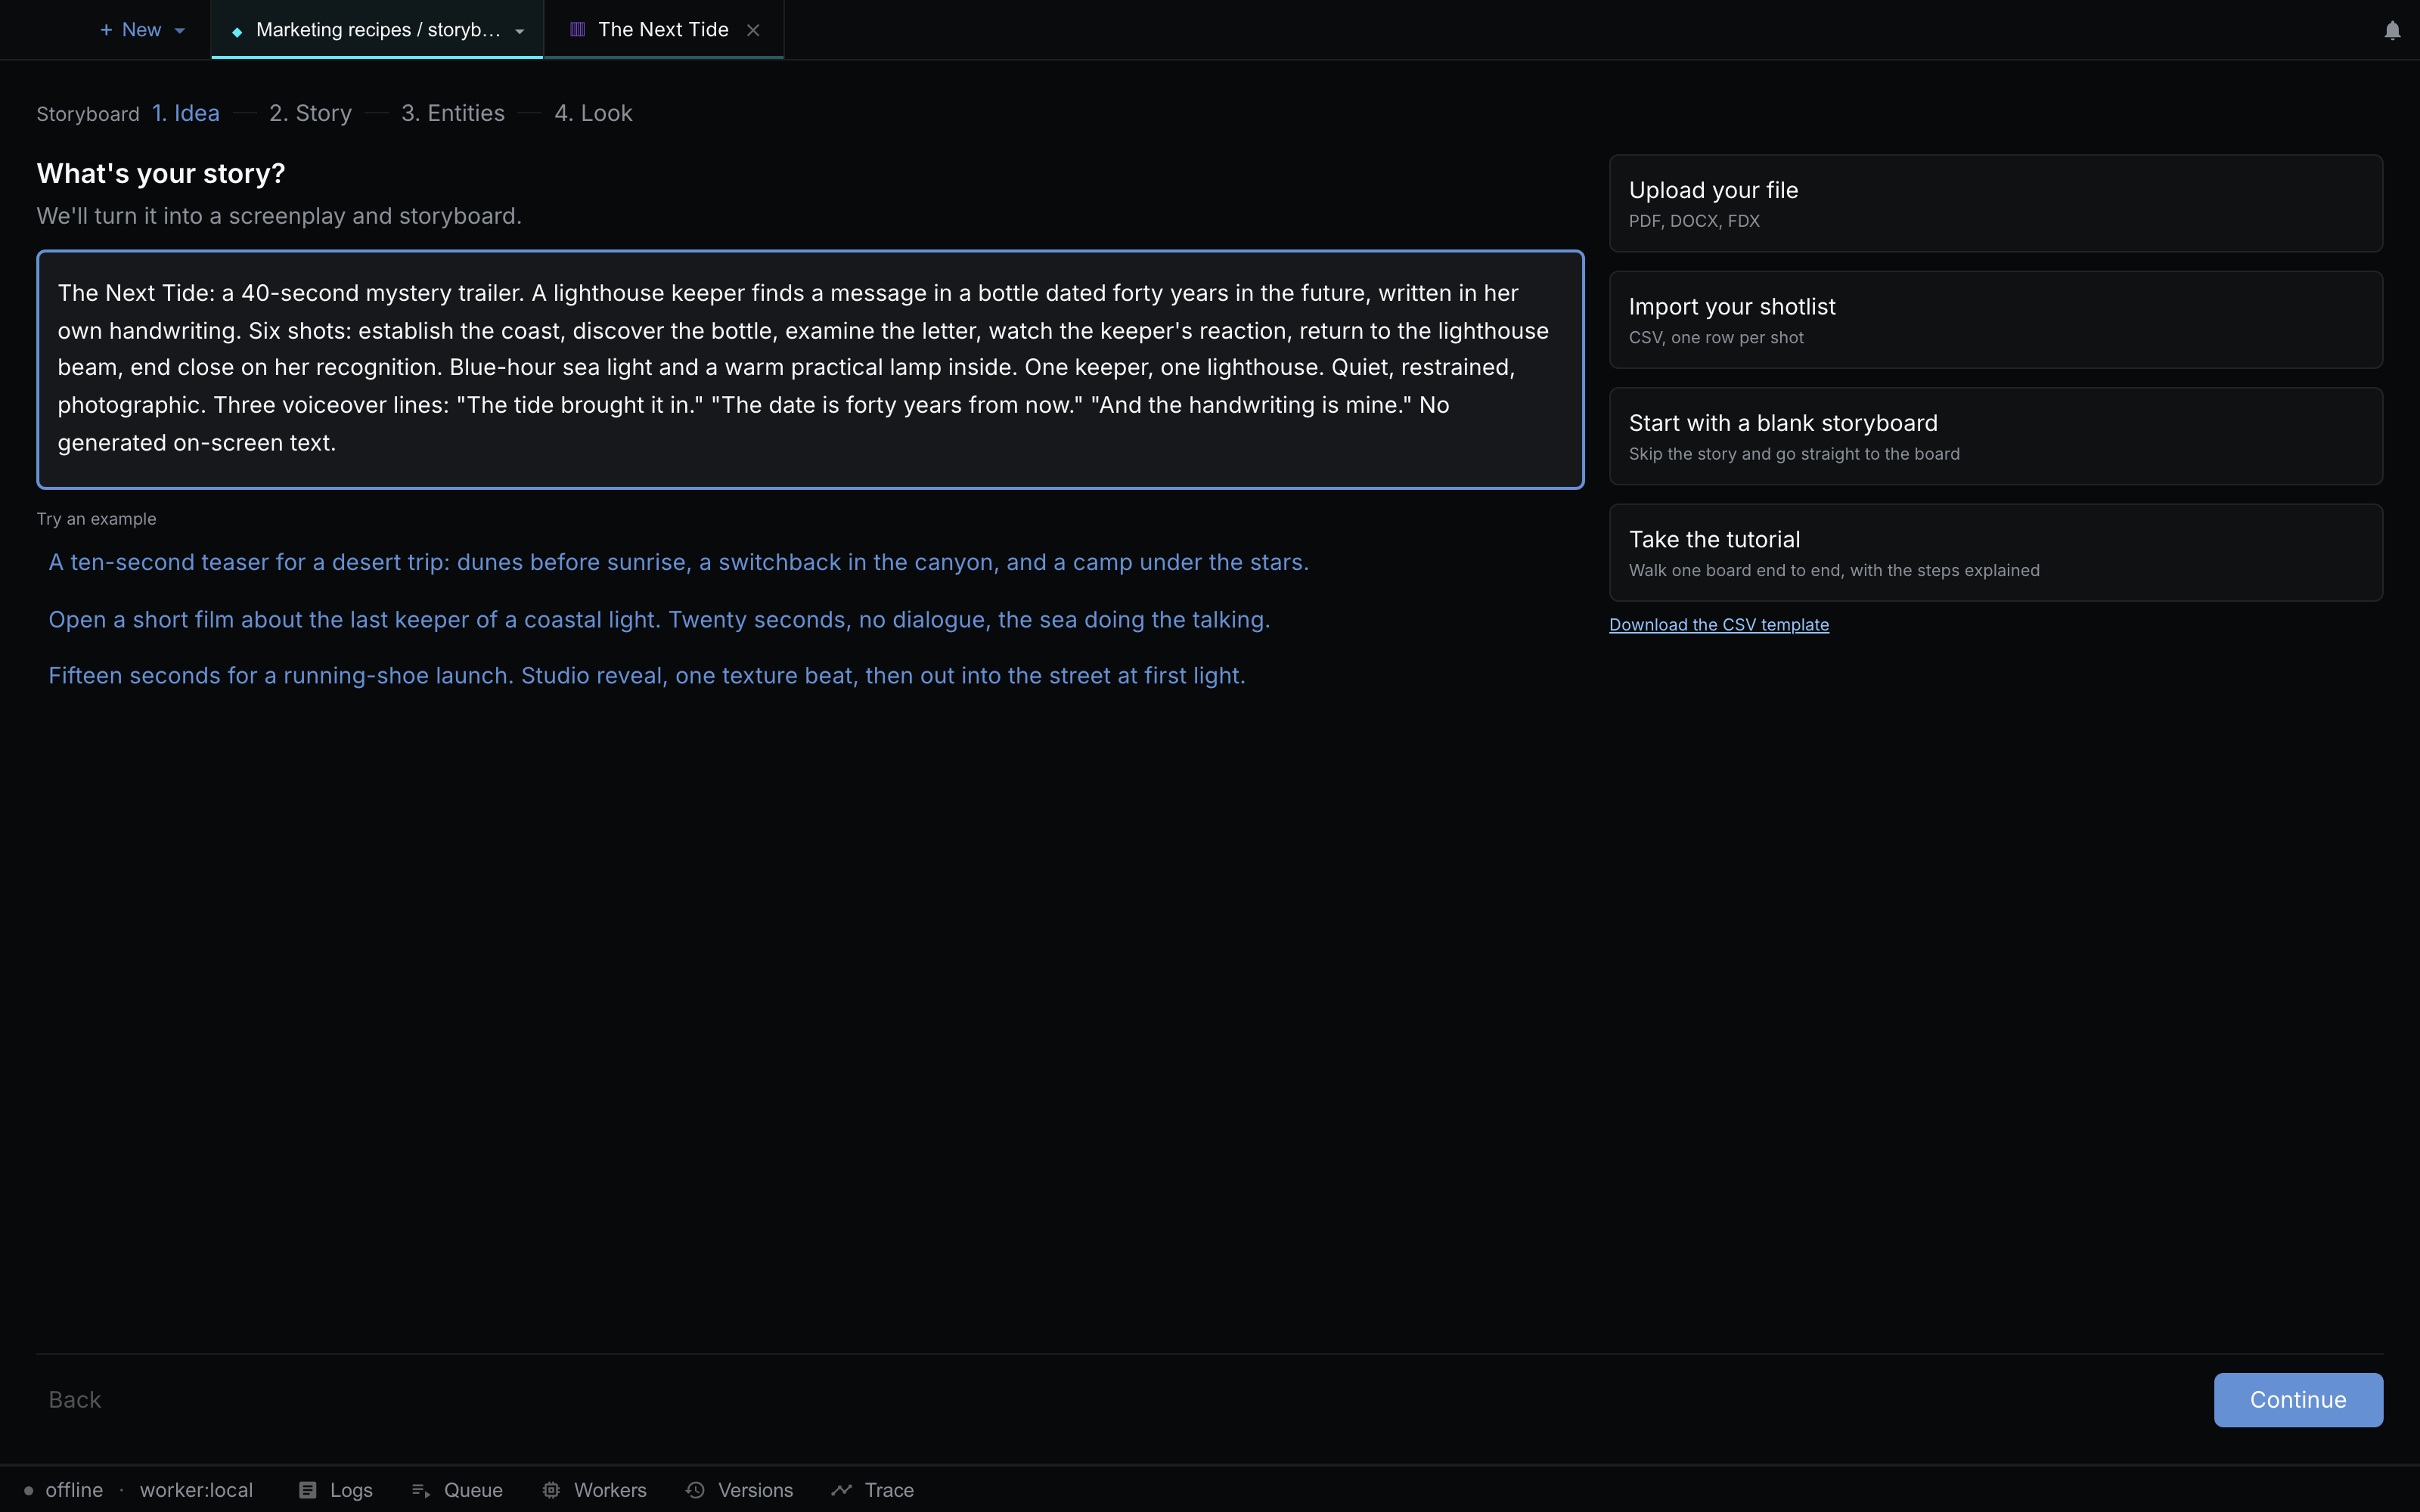
Step 1 of 9 · Guided setup
Create a project and choose Storyboard. Describe the central character, discovery, and mood. The example starts with a lighthouse keeper finding a message from the future.
Continue
Install NodeTool Studio, create a project, and choose Storyboard. Add your brief and references, then connect your provider keys before generating media.
Studio is free and open source. You pay providers directly for media generation. Set up your own project using the guide above.
Directed campaign kit
One clean cup reference becomes a kinetic launch world, two social formats, and a bounded revision.
Explore project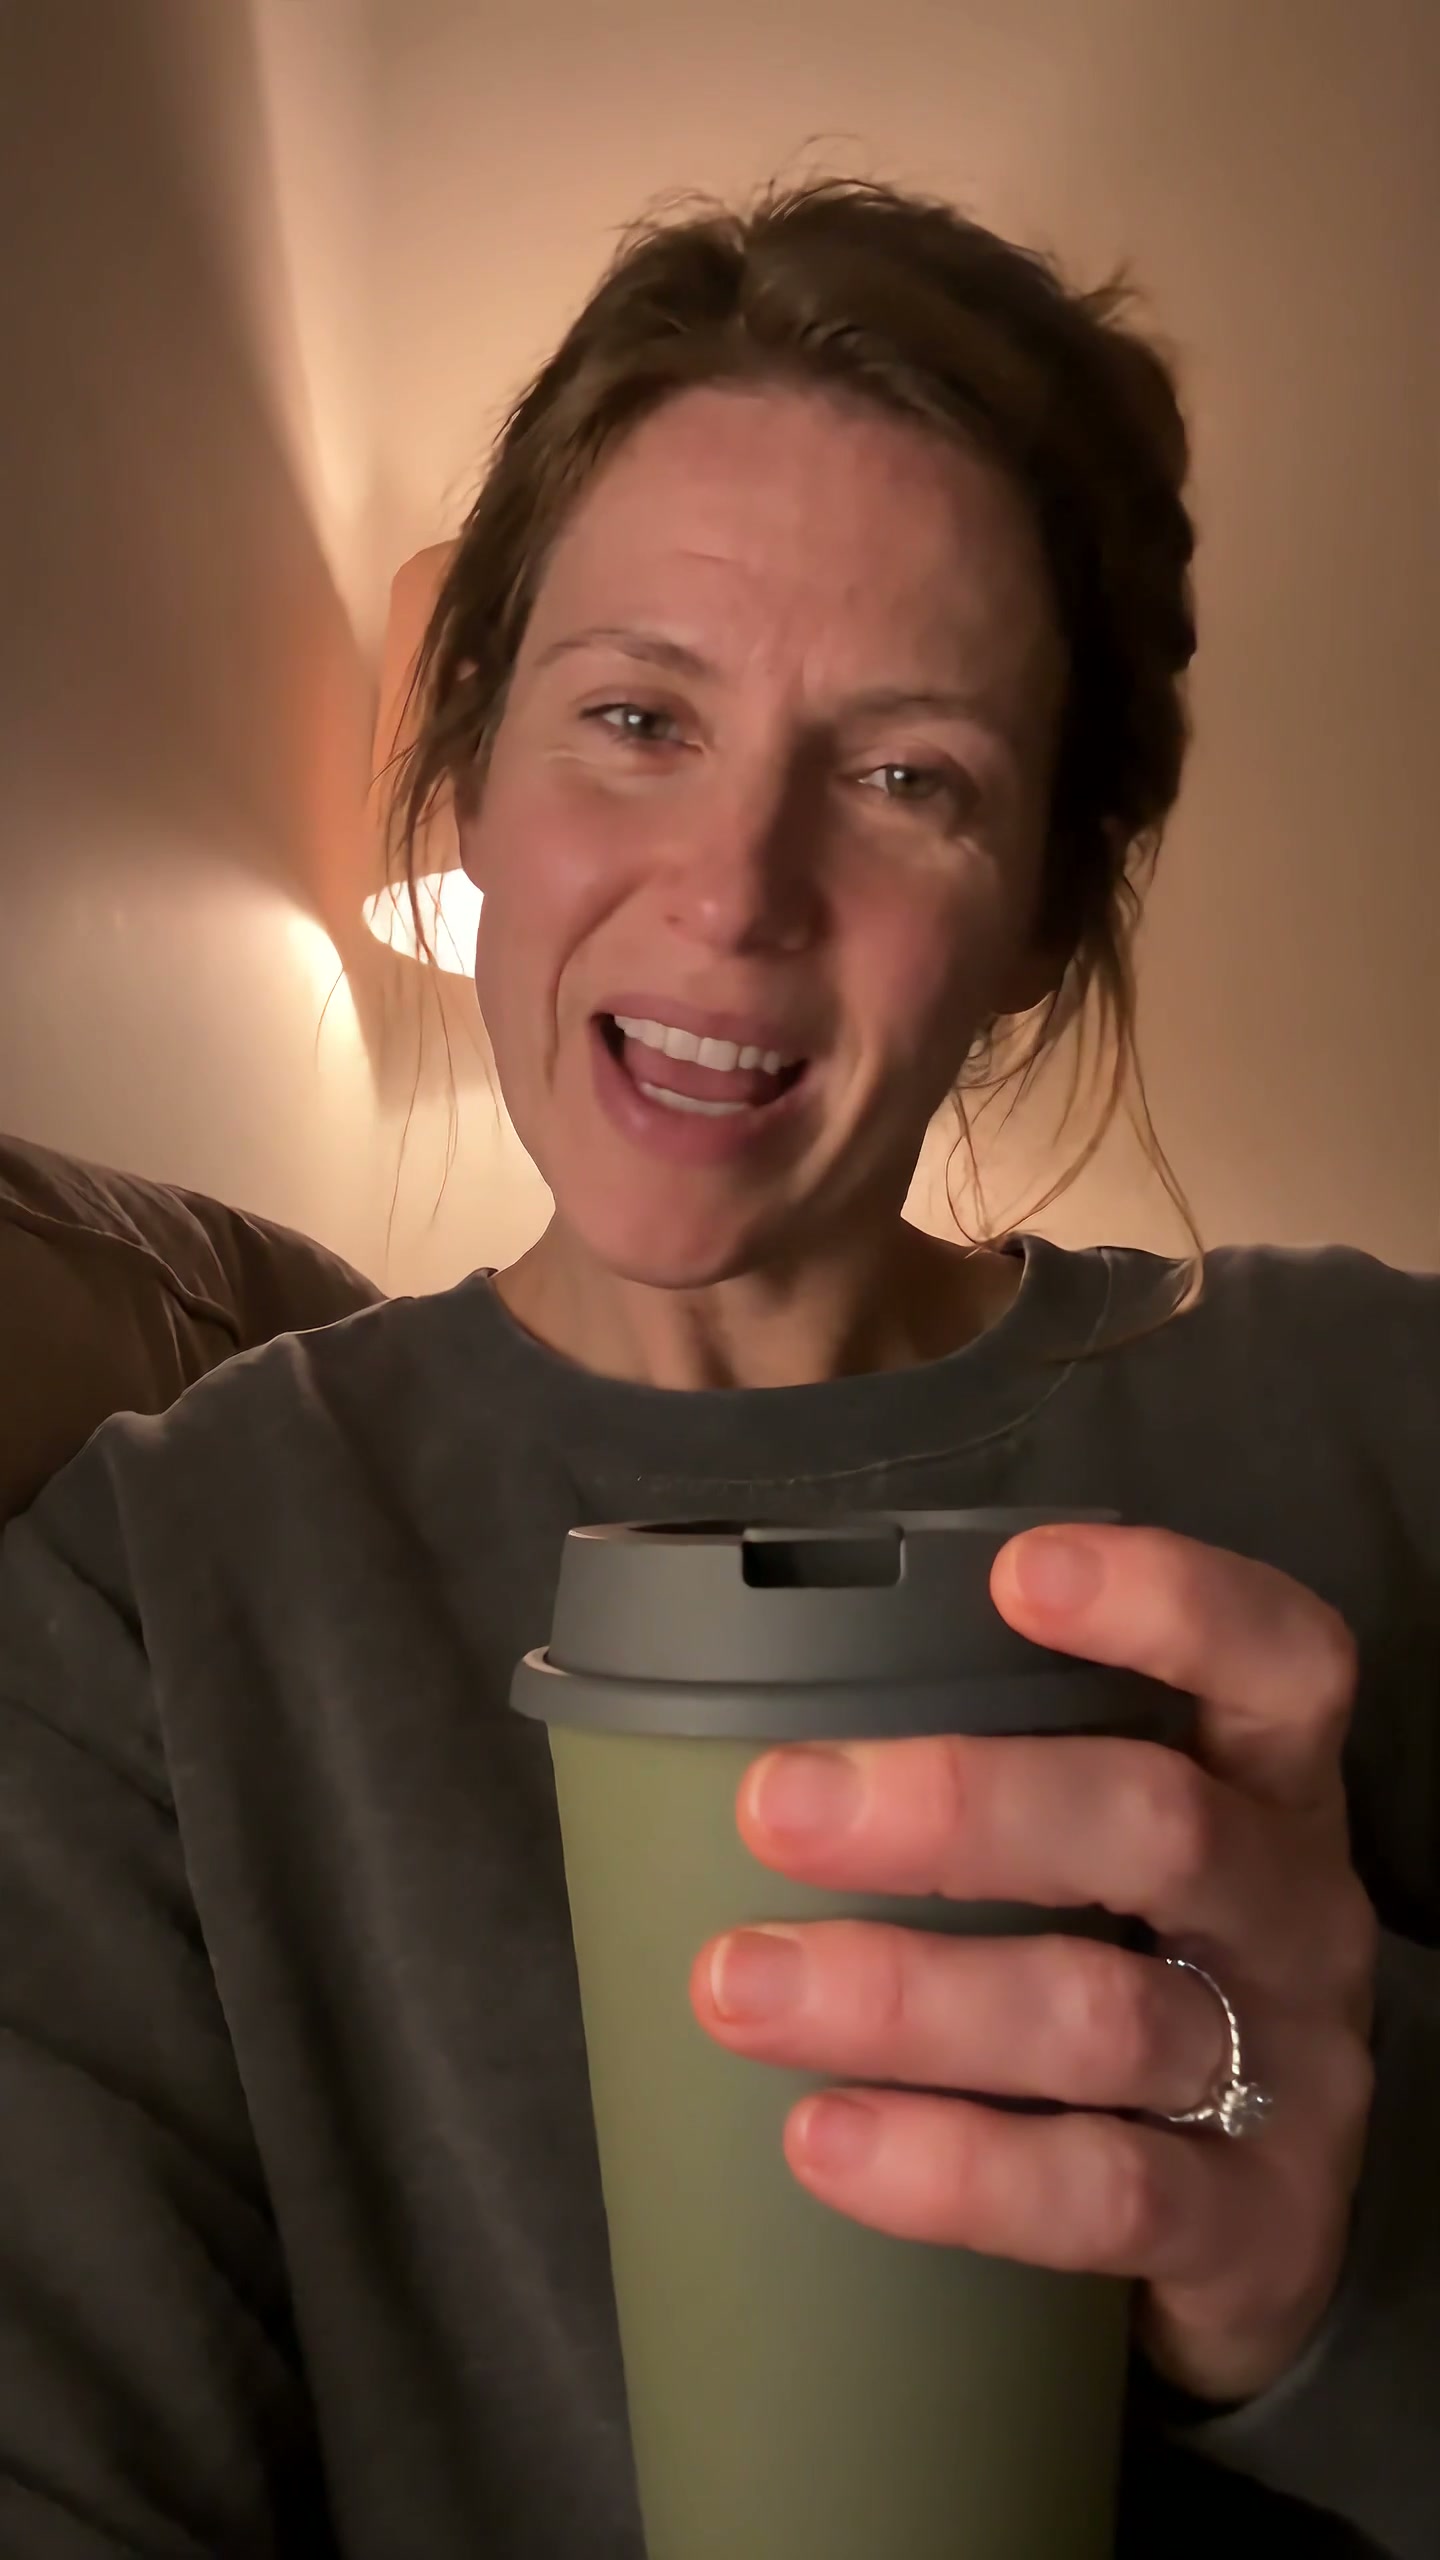
UGC product video
A self-aware purchase becomes a small source of reassurance as the same cup follows one chaotic day.
Explore project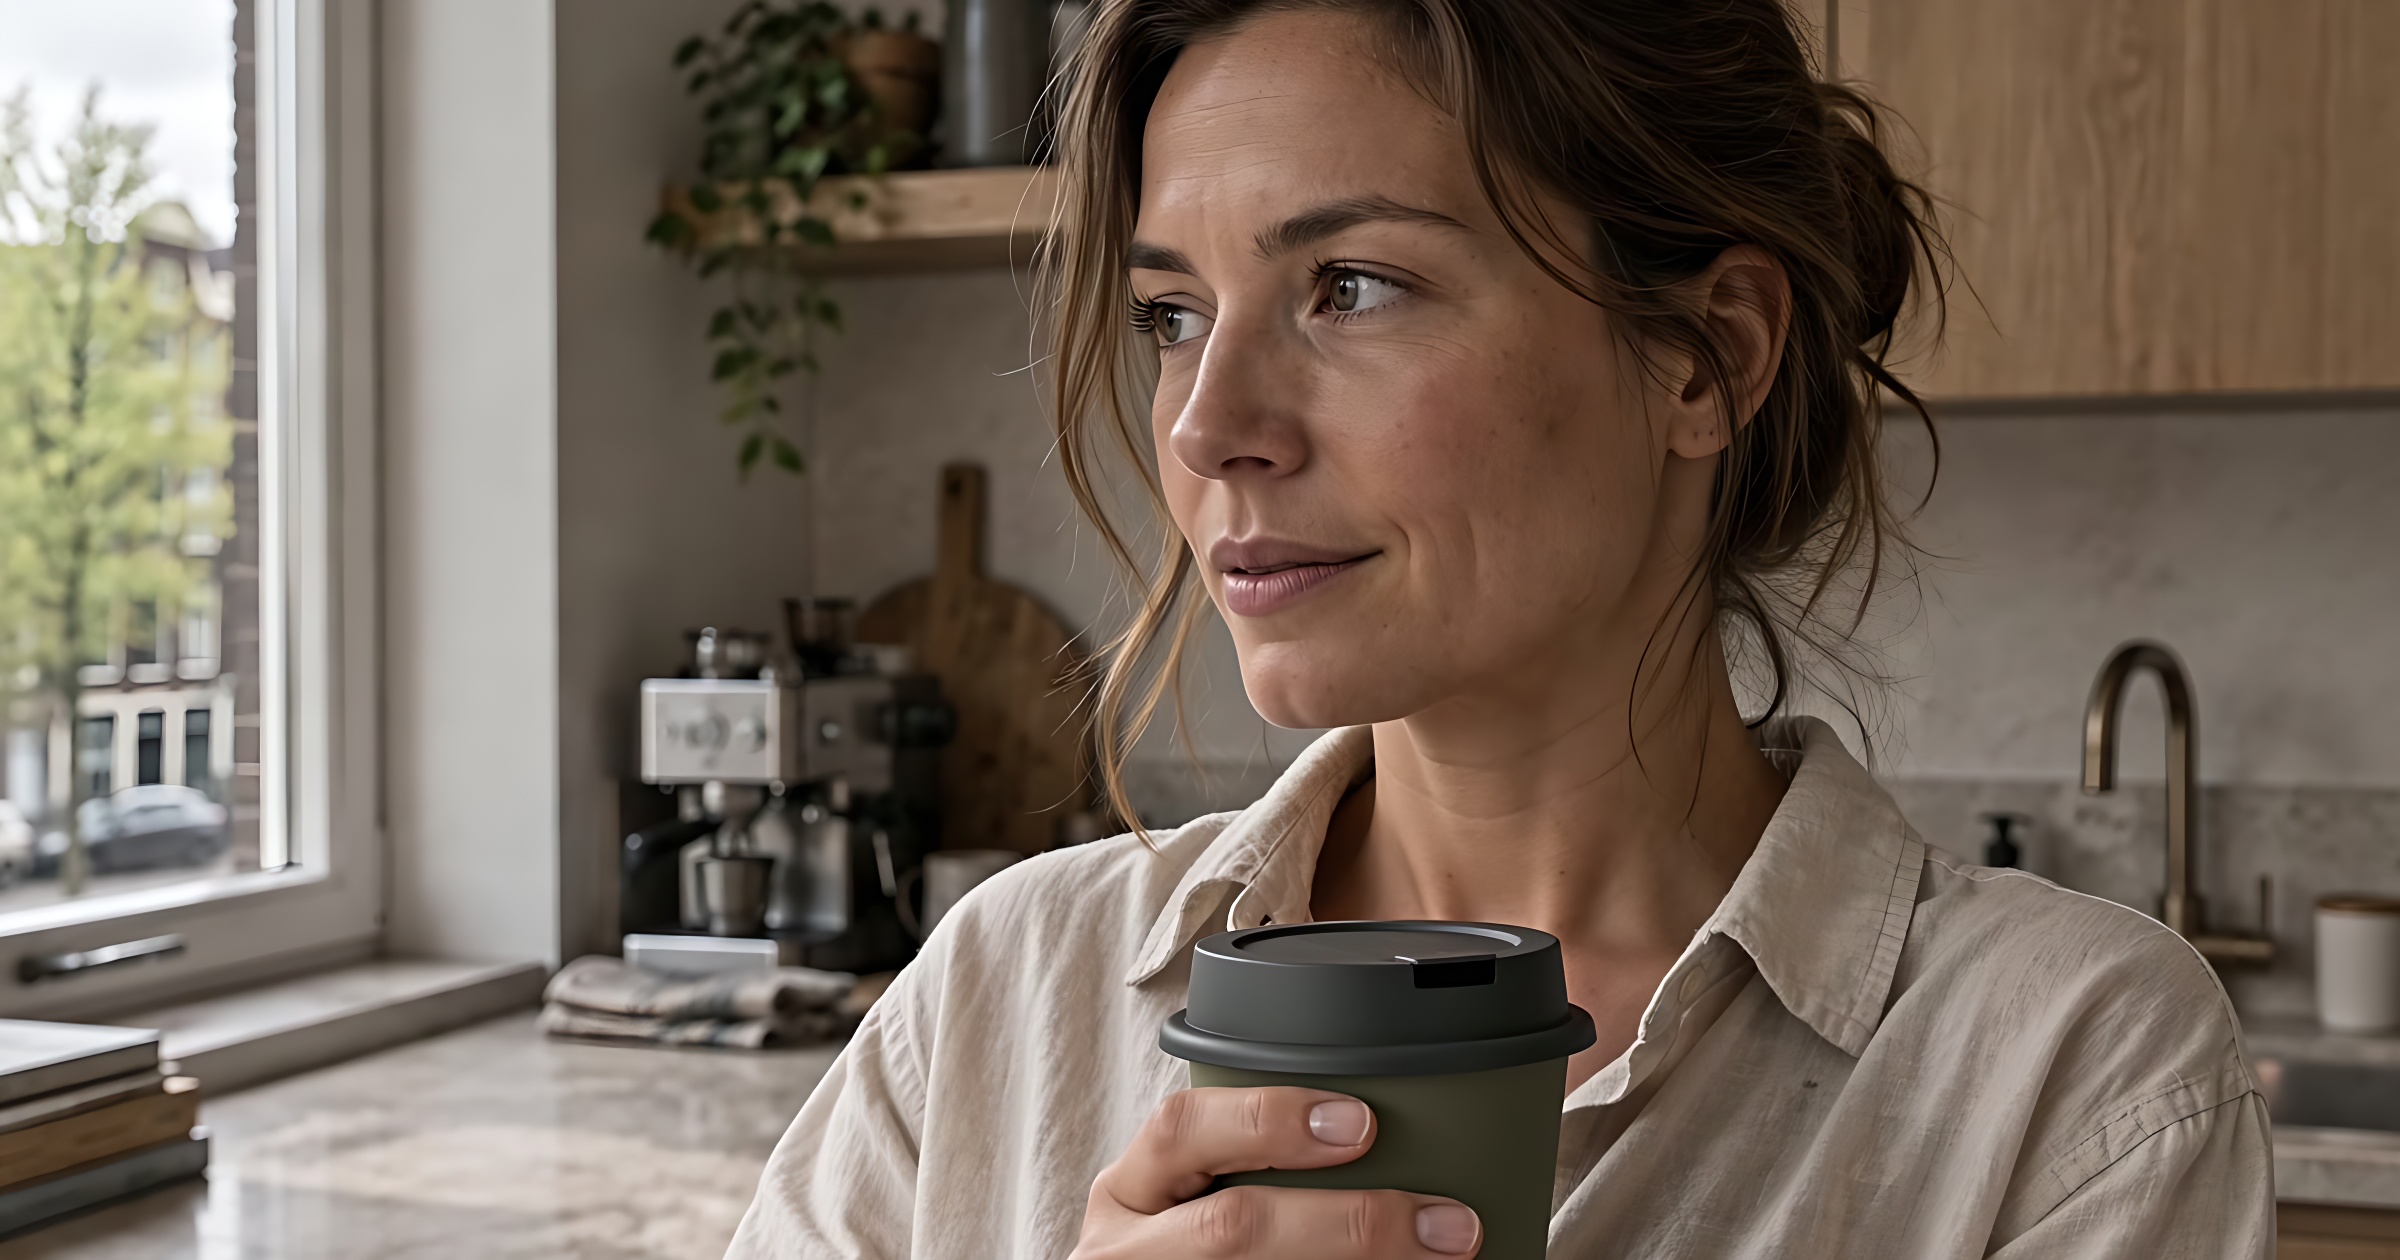
Product commercials
Fresh coffee pours, she takes a quiet moment, then heads out with her cup. Three shots follow one morning ritual.
Explore project
Multilingual video
An English presenter, revoiced in Spanish. Edit the translation and revise individual voice lines.
Explore project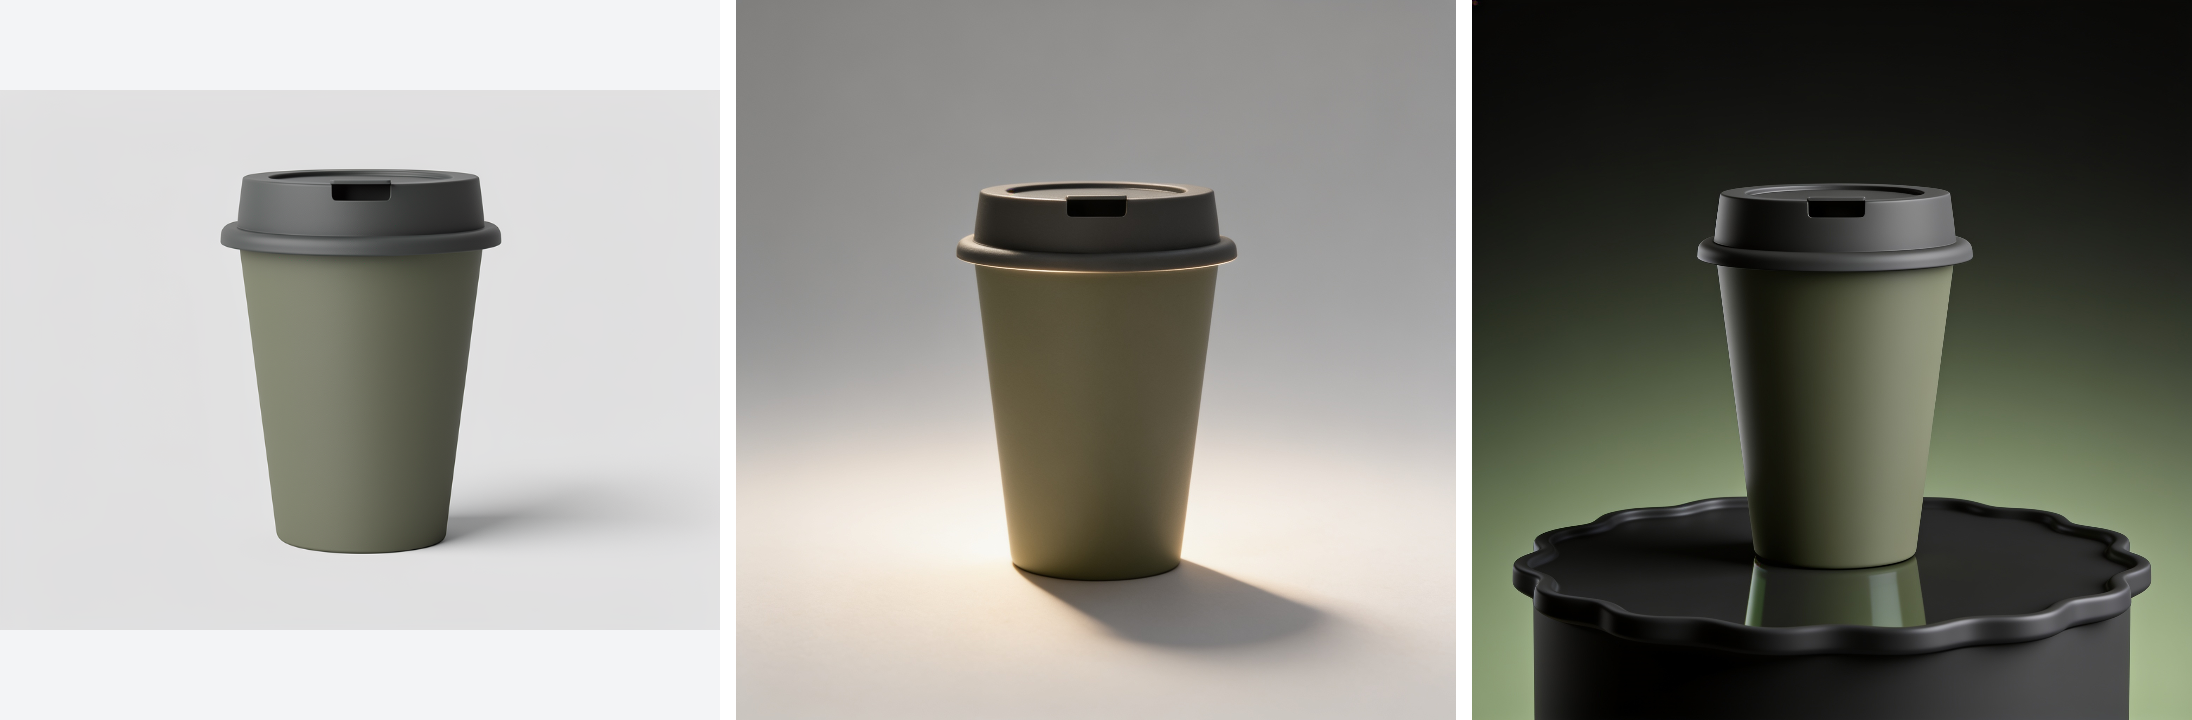
Product catalogue assets
Turn one product photo into a cutout, studio shots, and seasonal scenes.
Explore project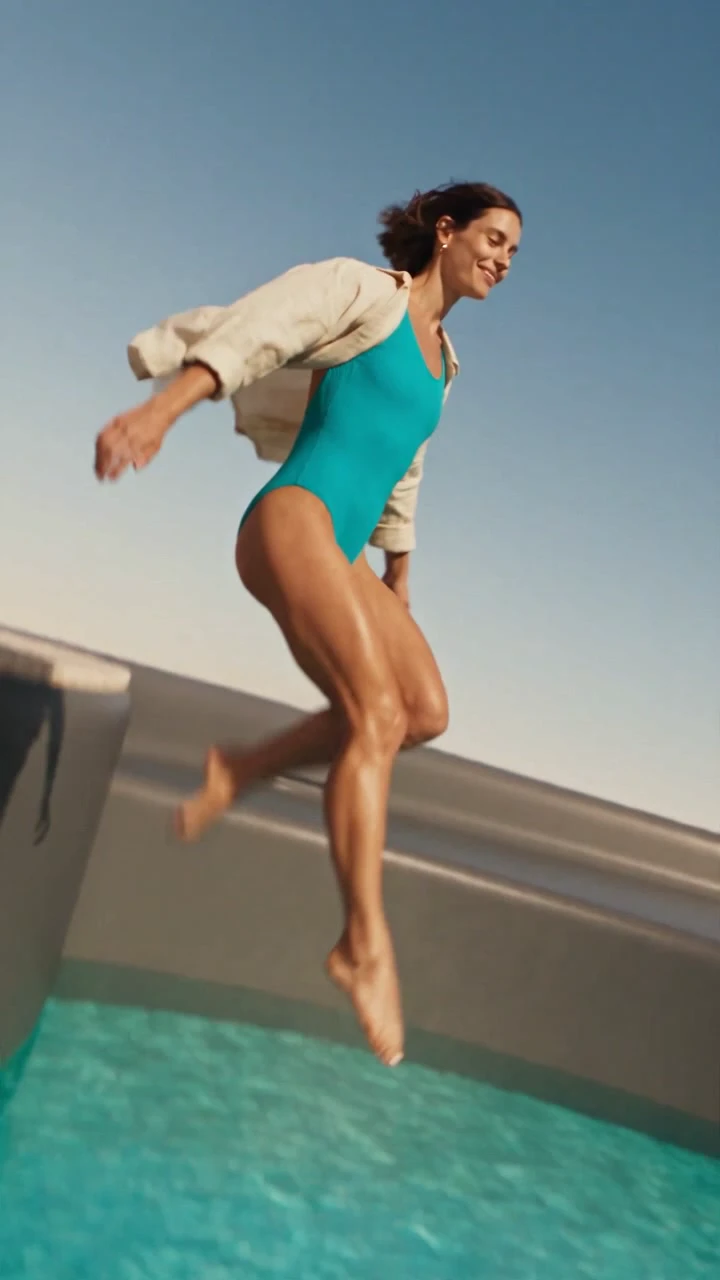
Impossible product worlds
A desert flight reveals a pool in a giant cup. A woman jumps in, then drinks from the same product at human scale.
Explore project